Of course, you can use the same instructions to make any sort of clay magnet. I’m just partial to Valentine’s Day motifs, it being my birthday and all. After making a lot of magnets I realized that they worked better – cleaner design, less chance of ripping the magnet off later – if you sunk the magnet into the clay a little if you could. With a bit of planning, this is simple.
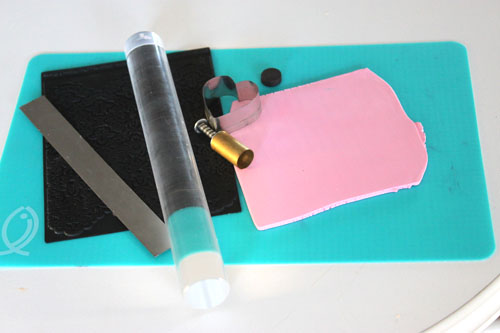
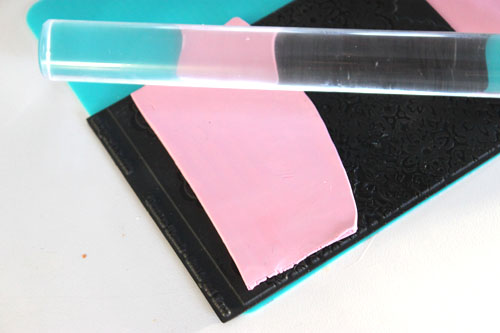
Get started with the usual stuff: a roller, cutters, a blade maybe, magnets, a texture sheet and a sheet of clay, rolled out to the 2nd or 3rd thickness on the pasta machine (mine is 2nd). Not shown are a strong glue (e6000 for me), a pasta machine, baking tray, a dab of craft paint and a bit of sandpaper or scrubbie
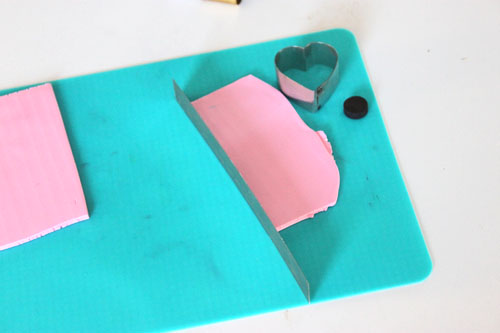
1. I cut the sheet in half – a piece for the base of the magnet and a piece for the textured top part. Here I’m going to cut out the two pieces for my base.
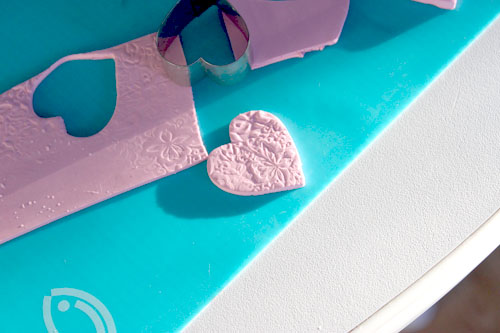
2. Cut two hearts from the sheet (for every magnet you’re making)
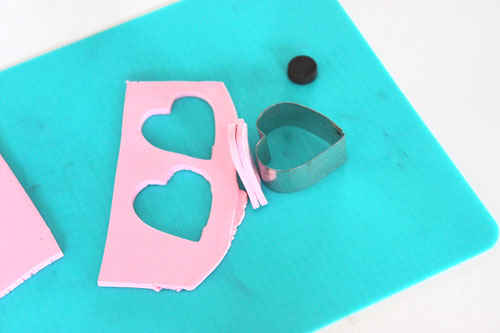
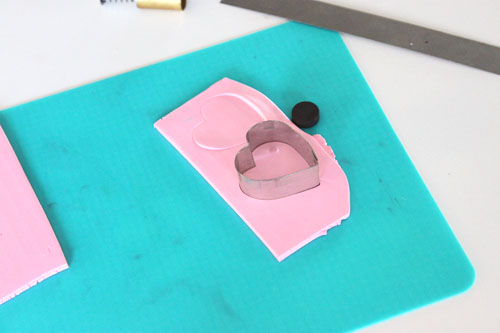
3. Cut out two hearts.
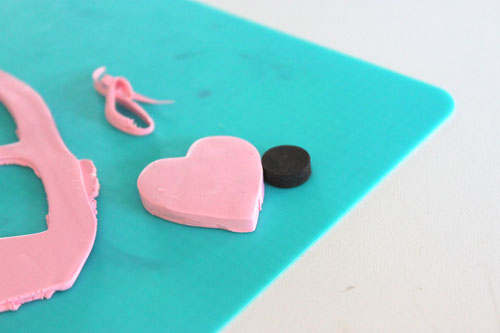
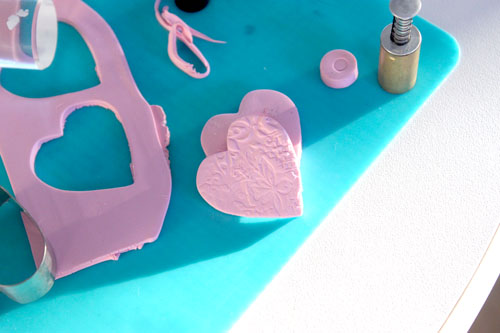
4. Stack your heart cut outs evenly. Trim and smooth if you need to.
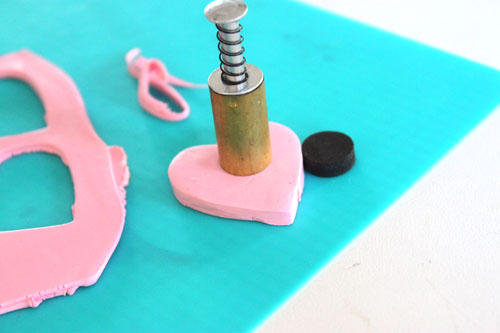
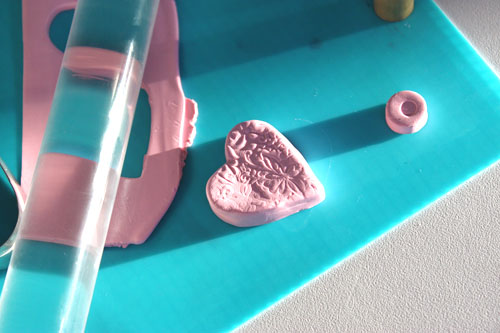
5. Use the small round cutter – mine is a half inch circle to match the half inch magnet I’m using – to punch a circle out from the stack. After baking, you’ll glue the magnet in here. This way, the magnet doesn’t poke out much.
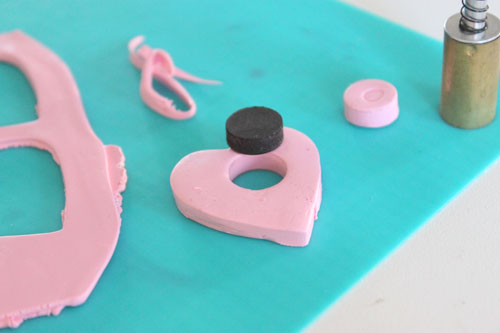
6. Check the fit of the magnet in the stack. Make it just a little loose if you have to. Save frustration later, after baking.
7. Carefully roll your clay onto the texture sheet. Alternately, press the sheet down onto your clay. I’ve used a little water here as a release agent for the texture sheet. If you’re using Fimo, use a dry release such as cornstarch or mica powder.

8. My piece of textured clay. If you don’t like the imprint you got… run it back through the pasta machine and try again. Clay is very forgiving.
9. Cut a third heart shape, this time from the textured sheet.
10. Stack your textured heart on top of the others.
11. Smooth the edges if you want, using fingers and the roller. Check the magnet fit again and bake for the recommended time and temperature (for mine, at just over 1/2″ and Premo clay, that’s an hour at 275F). I recommend baking textured part down so the thin part doesn’t slump slightly. Don’t bake the magnet IN the clay as it can weaken the magnet. Glue it in afterwards.
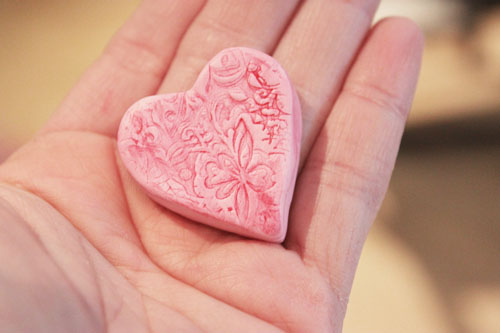
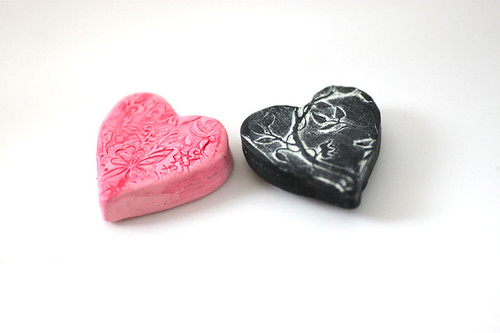
12. After your future magnet is all baked you can use a little acrylic paint to bring up the texture you pressed in. I used plain red paint on the pink heart (and white on the black heart coming up). Let it dry for a bit then use a piece of sandpaper or a scouring pad to rub off the excess paint. This leaves just the details highlighted.
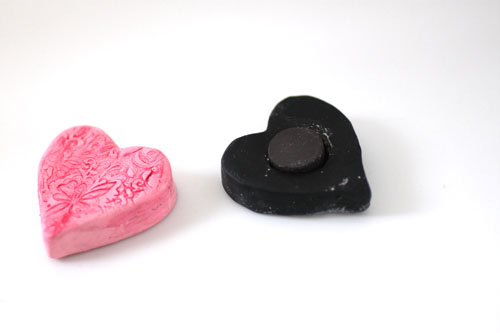
13. Glue your magnet in the hole. I used e6000 to glue my magnet in. If your magnet no longer fits, use a sharp knife like an exacto to trim away a little clay until it DOES fit.
14. The final step – admire your magnets on your fridge!